


Tyre Glider at a glance
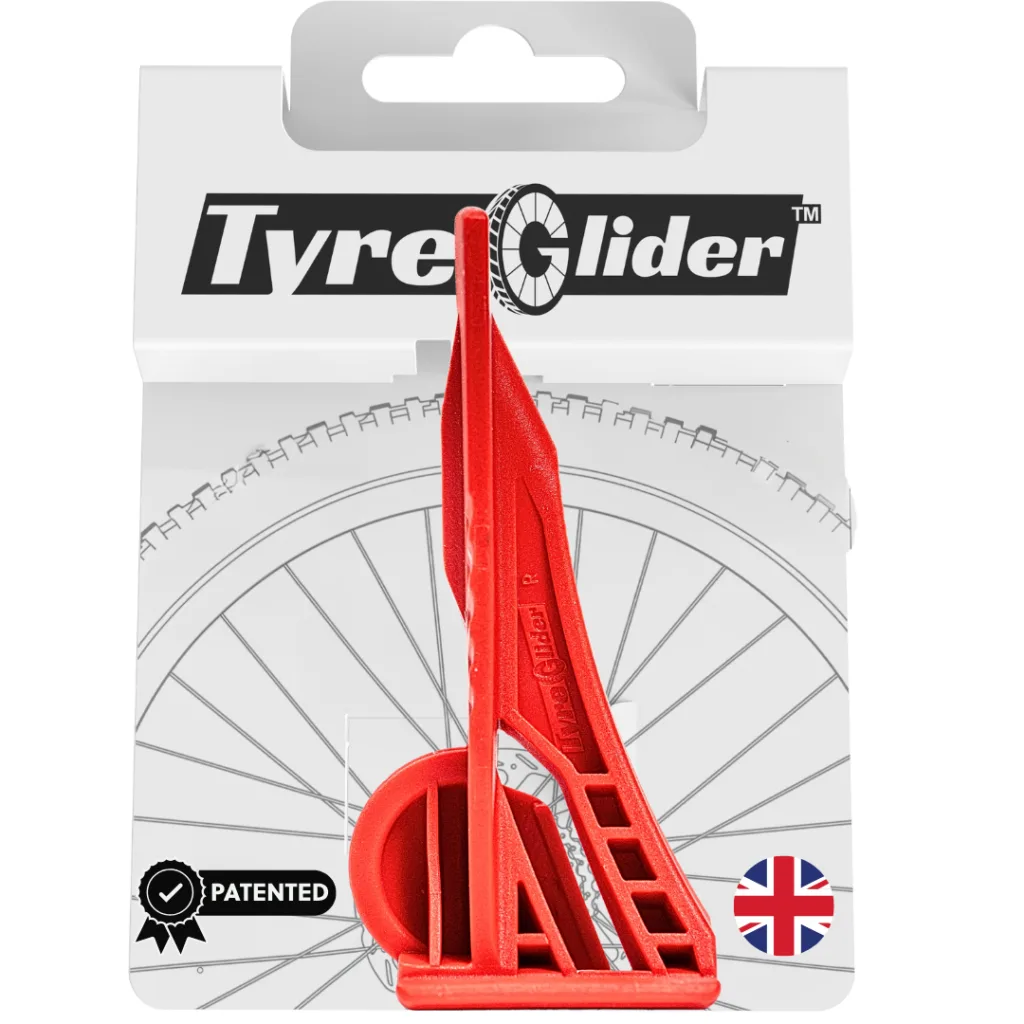
One compact tool for removing and fitting bike tyres
Designed to tackle tight tyres
Weighs just 20g
Rim clip fits tyre hooks up to 7mm wide
Right-handed versions
Not sure which one? Choose the hand you would normally use to operate the tool.
HOW TO USE CLOCK THE LINK - https://www.youtube.com/watch?v=Y5lBB4UgUcU
Why Choose the Tyre Glider Over Traditional Tyre Levers?
Hi, I’m Kevin—the inventor of the Tyre Glider. If you’ve landed on this page, chances are you’ve had that moment: stuck by the roadside, wrestling with a stiff tyre, bruised thumbs, aching hands, and maybe a few words you wouldn’t say in front of your kids.
I’ve been there too. That’s exactly why I created the Tyre Glider—to take the frustration out of changing a tyre.
Sure, I could talk about how it’s a patented UK invention, how it uses your body weight—not just your hands—for easy tyre removal. But at the end of the day, what really matters is this:
If you use the Tyre Glider properly, it just works.
Better than anything else out there. Simple as that.
I know that might sound like a bold claim. I’d be sceptical too. But don’t just take my word for it—Tyre Glider has become one of the most reviewed tyre tools online for a reason. Cyclists around the world are using it, loving it, and recommending it. It’s even picked up awards along the way.
How to remove a tyre?
- Push in the Tyre bead in to create a gap.
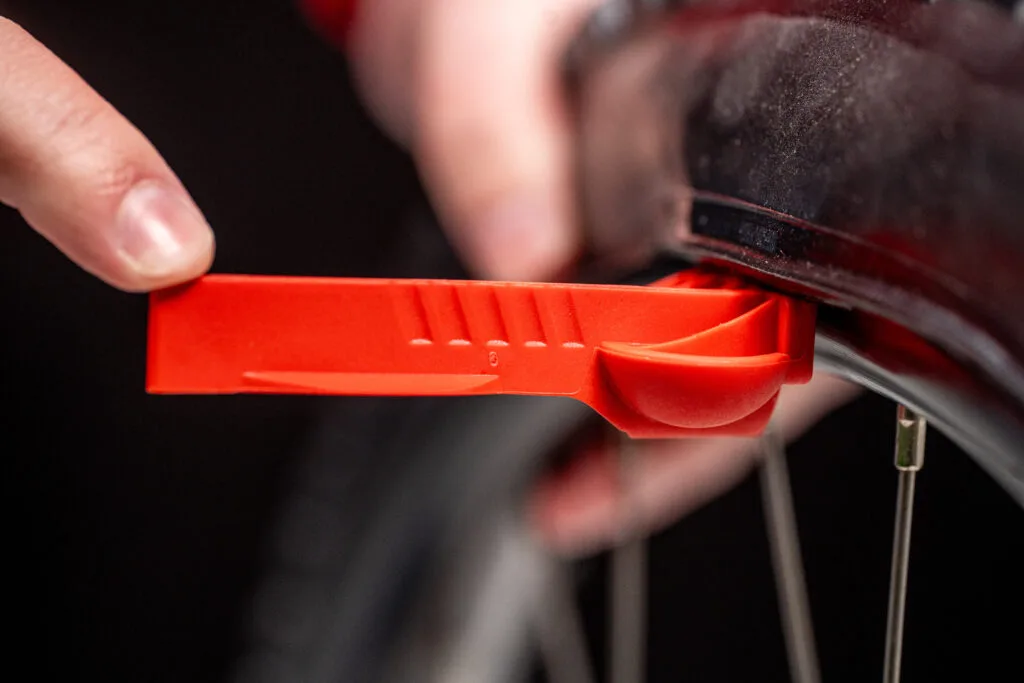
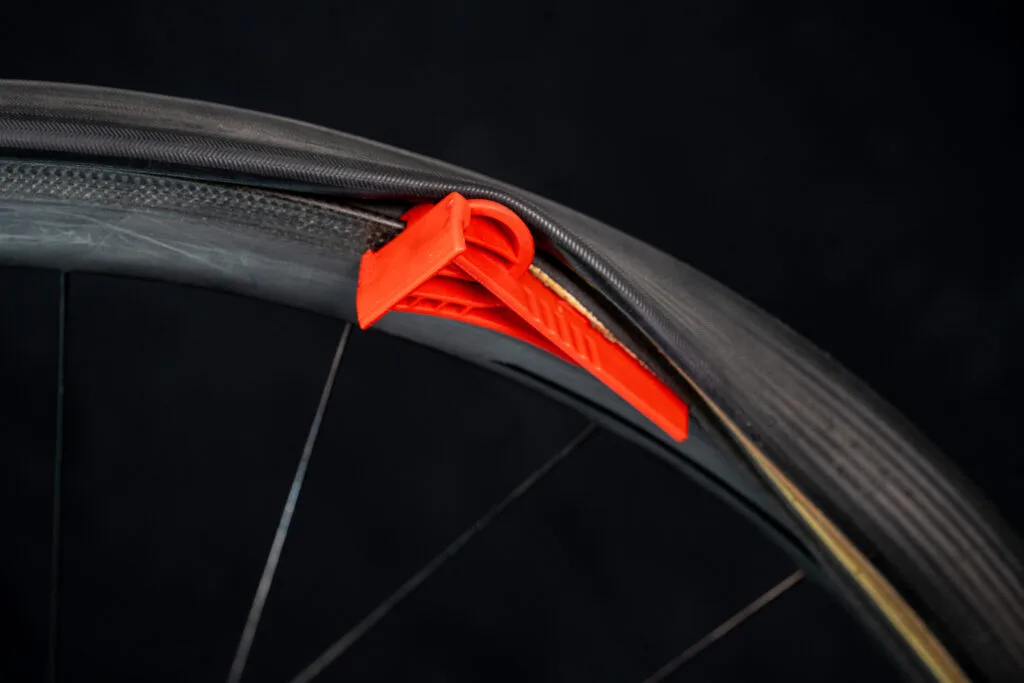
- Position Tyre Glider in the gap and then ‘scoop’ the lip fully under the bead.
- Lever the Tyre Glider back pulling the bead over the wheel rim.
- Push in a forward & downward motion to glide the tyre off the rim.
How to install a tyre?
- Starting at the valve, Clip the Tyre Glider onto the rim.
- Using your palm push your Tyre Glider forward.
- The bead will seat itself as you push Tyre Glider around the wheel.
How to remove tight fitting Tyres?
- Follow the above steps first.
- Start opposite Tyre Glider and pinch bead in around the wheel towards your Tyre Glider.
- Turn the wheel back to the Tyre Gliders position & push.
How to install a tight tyre?
- Follow the “install tyre” steps first.
- When you encounter resistance, stand with the wheel between your legs and use your bodyweight to push down.
- For really tight fitting tyres, use your thumb to help install the last bit of bead onto the tyre.
All products are sourced from official importers and covered by manufacturers warranty. If you do need to send items back to us please make sure that you retain proof of postage in the event that it is needed. Please feel to contact us on 01304 840673 or email us at info@sprockets.uk.com
Your product is covered by a 12 month Warranty or more if you opted for the extended warranty. Make sure you register your product.